Creating Shift Requirements
There are two main ways to create shift requirements.
The first option is the most conventional option and this involves creating shift requirements directly from within the scheduler on the requirements row. This is the option we will be covering in this article.
The second option is creating shift requirements via the Sirenum Import Tool.
Creating Shift Requirements from the scheduler
From the main menu, click on the ‘Shift Scheduling’ tab.
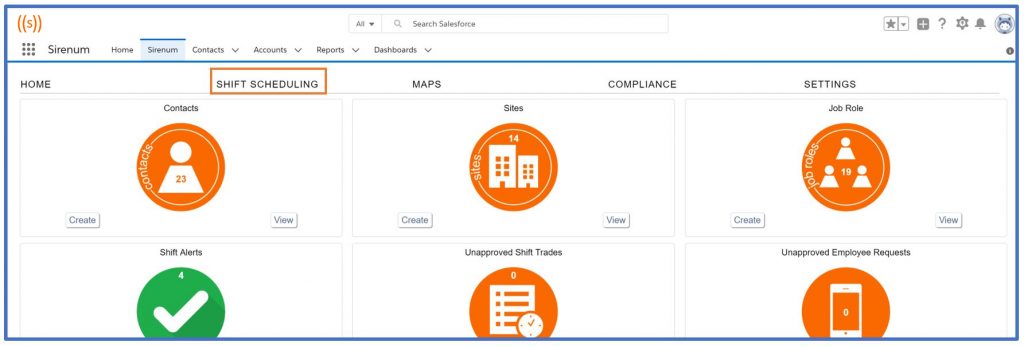
This will open the scheduler.
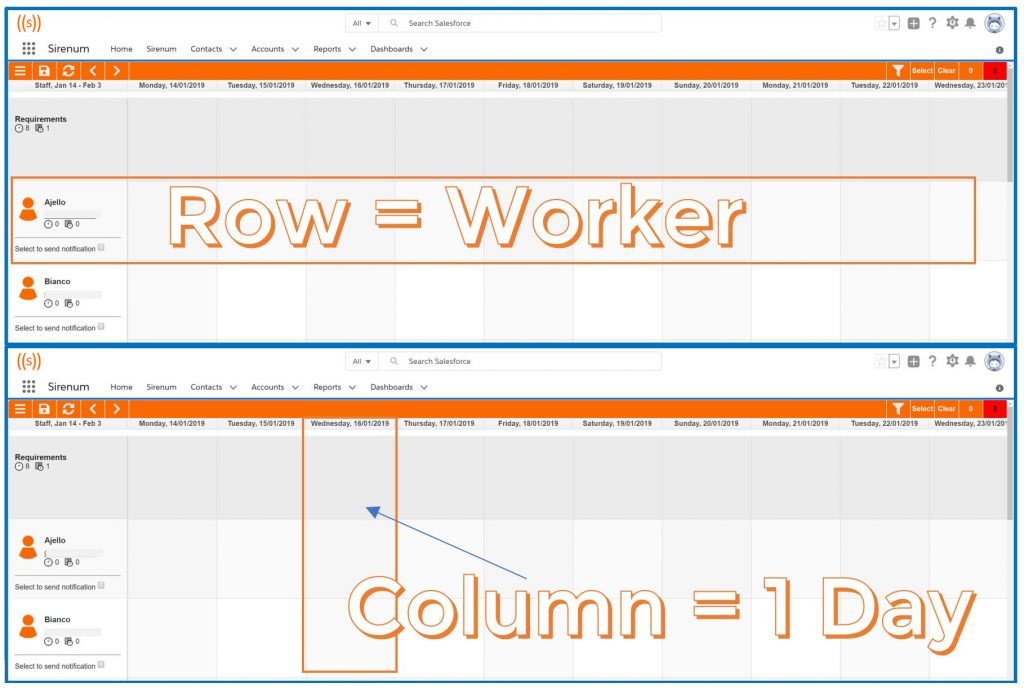
The top row is the shift requirements row. This row houses your shift requirements.

Remember, in the default view, each row represents a worker and each column represents a day.
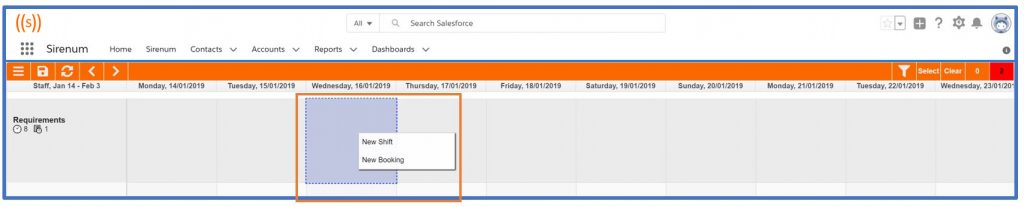
To create a shift requirement, right click on a date cell on the requirements line and select ‘New Shift’.
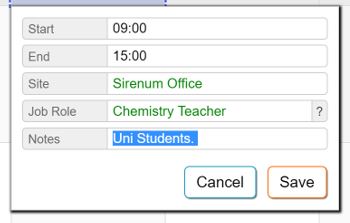
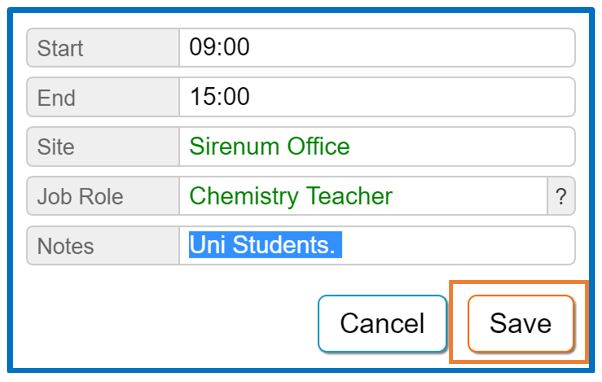
A form will be displayed. Fill in the form with the details of the shift requirement.
You might see slightly different fields or terminology on your new shift form.
Start = The time the shift starts (hh:mm or hhmm or hh – e.g 09:00 or 0900 or 09)
End = The time the shift ends (hh:mm or hhmm or hh – e.g 13:00 or 1300 or 13)
Site = Where is the shift taking place?
Job Role = What job is required?
Notes = Any notes relevant to the shift (free text)
Press ‘Save’ when you are done filling in the details of the form.
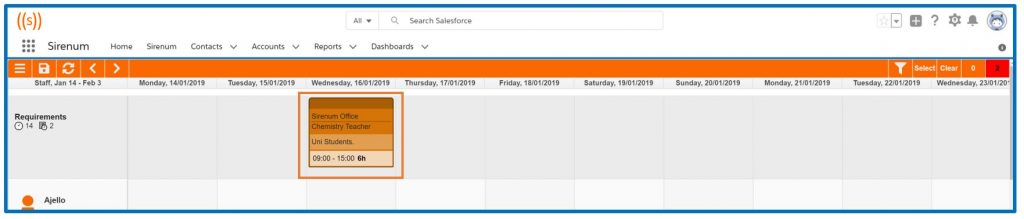
Next, save the new shift requirement on the scheduler by pressing the ‘Save’ icon at the top left hand side of the scheduler or press ‘Crtl+S’ to save.
Your requirement is now sitting on the requirements line ready to be assigned to a worker.
You can assign the shift requirement to a worker when you are ready using a method such as ‘Find Resource’ or ‘Open Shift’.
These methods (and more) are covered within this documentation.